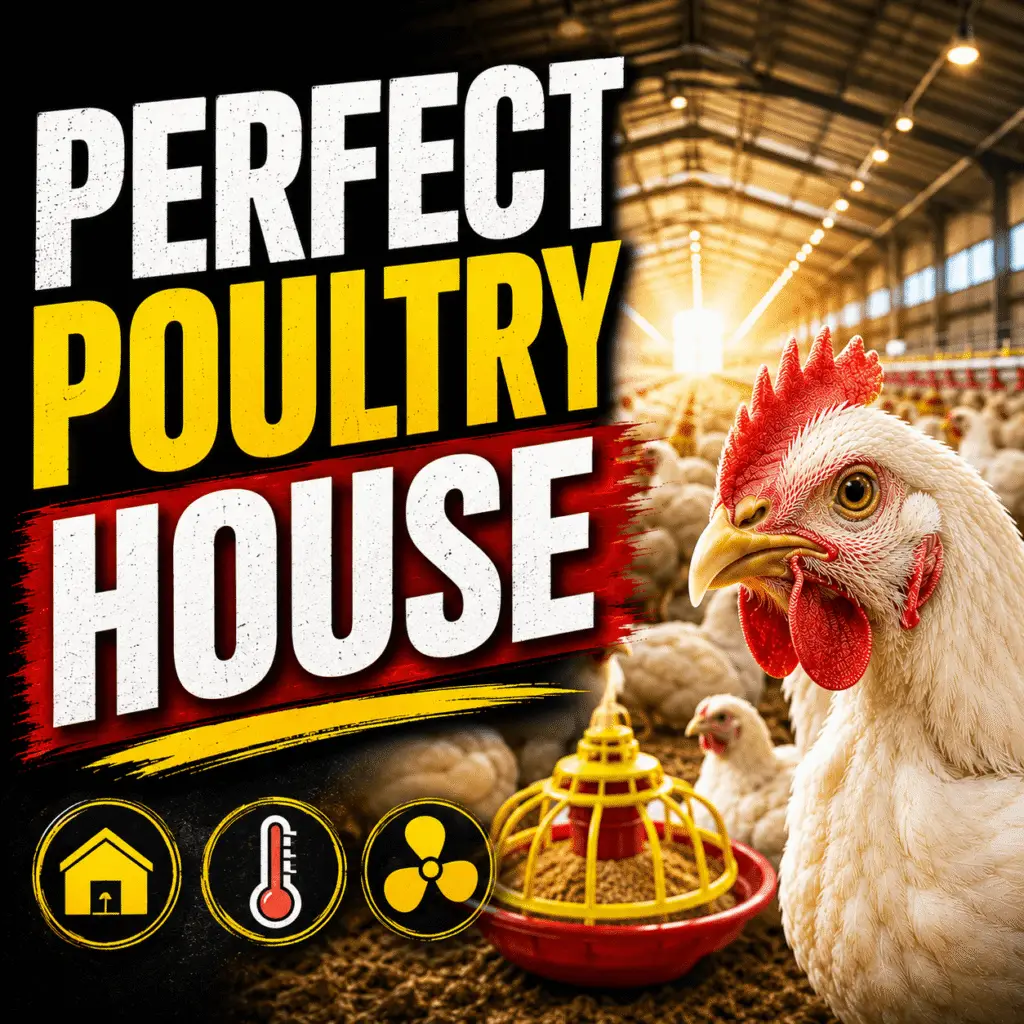
Two farmers can buy the same chicks and the same feed, yet finish with very different results. The difference often lives in the building. A well-designed poultry house controls temperature, air, and hygiene so birds convert feed into weight efficiently. In contrast, a poorly planned shed fights the farmer at every stage, raising mortality and wasting feed. Therefore, the structure is not a background detail but a core driver of profit.
This article walks through the six setup keys that turn a simple shed into a reliable production space. You will see how site, ventilation, temperature, equipment, litter, and biosecurity work together. Each choice affects the others, so the house must be planned as one system. Additionally, the guidance stays evergreen and adapts to both small backyard units and larger commercial barns. The goal is a space that supports the flock instead of stressing it.
Getting the poultry house right early saves money on every future flock. Retrofitting ventilation or fixing a damp floor mid-cycle is costly and stressful. Consequently, a modest investment in good design pays back across many production rounds. Moreover, a comfortable house lowers mortality and improves the feed conversion ratio at the same time. By the end, you should be able to assess your own building and prioritize the upgrades that matter most. For how housing fits the wider budget, see our broiler farming economics guide.
1. The Site and Structure of the Poultry House
Every good poultry house starts with the right location and a sound shell. The site influences drainage, disease exposure, and how easily feed arrives. Meanwhile, the structure itself decides how well you can control heat and airflow inside. These two foundations are hard to change later, so they deserve careful thought up front. Furthermore, a smart layout reduces daily labor for years to come. Get the site and shell right, and every other system becomes easier to run. The subsections below cover location choice and the building itself in practical terms.
1.1 Choosing the Right Location
Location shapes the health and cost profile of the whole operation. A good plot sits on well-drained ground, since standing water breeds disease and damages litter. It also keeps a sensible distance from other poultry farms to limit cross-infection. Additionally, reliable road access matters, because feed and chicks must arrive on schedule. Orientation counts too, as aligning the long axis to catch prevailing breezes aids natural cooling. Meanwhile, some distance from homes reduces odor complaints and future disputes. Choosing carefully at this stage prevents expensive relocations once birds are in the building.
Water and power availability round out a strong site. Birds need clean water constantly, so a dependable supply is non-negotiable. For example, a nearby well or a reliable mains connection saves daily hauling and stress. Electricity, meanwhile, powers brooding heat, lighting, and any fans you install later. In areas with frequent outages, planning for a backup source protects the flock during cold nights. Furthermore, gentle slope away from the house keeps rainwater from pooling at the walls. Together, these practical factors decide whether the site works with you or against you every single day.
1.2 Poultry House Materials and Layout
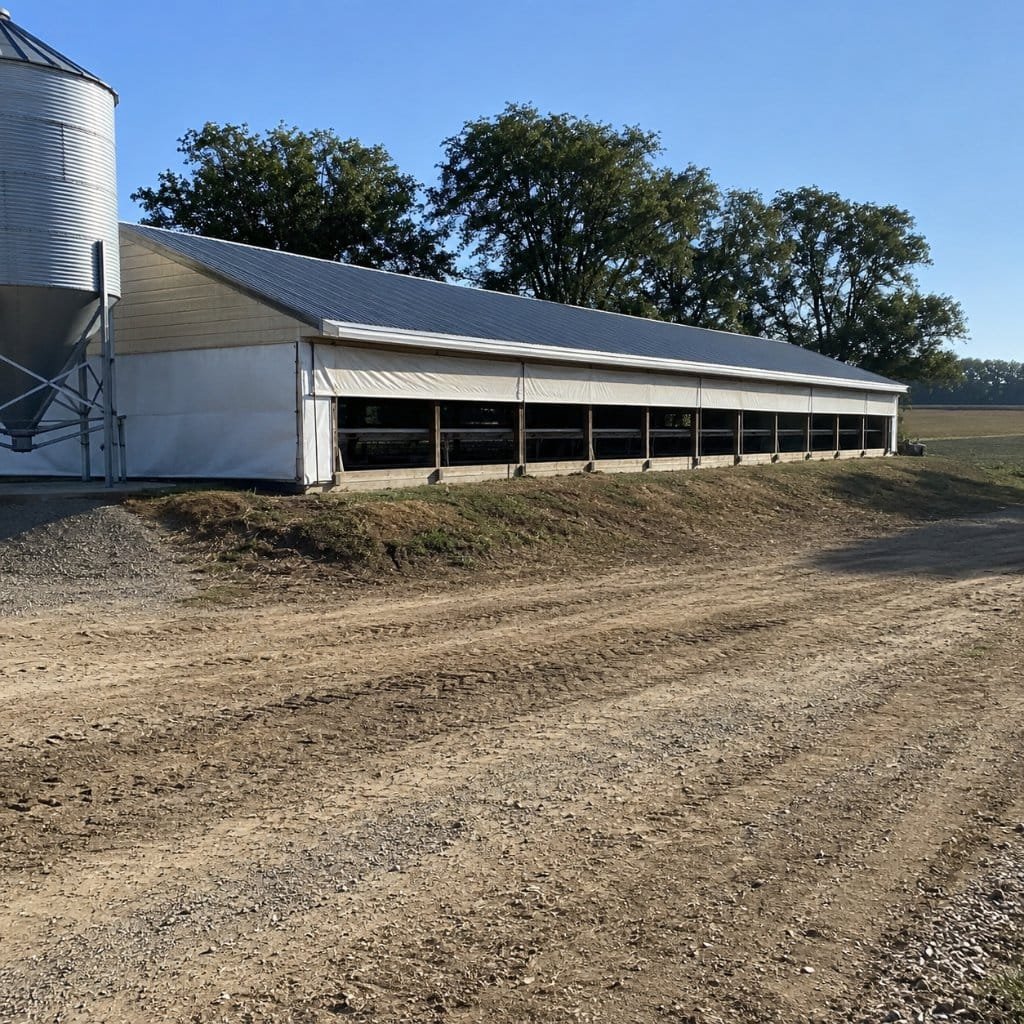
The building materials balance cost, durability, and climate control. In warm regions, an open-sided house with wire mesh and roll-down curtains supports natural airflow. In colder areas, more enclosed walls with adjustable vents hold heat during brooding. A raised, easy-clean concrete floor resists moisture and simplifies disinfection between flocks. Additionally, a roof with enough overhang shades the walls and keeps rain out. Reflective or insulated roofing further reduces heat stress in hot weather. Choosing materials suited to your climate lowers running costs and keeps the flock comfortable across seasons.
Layout determines how smoothly the daily routine flows. A rectangular shape, roughly twice as long as it is wide, gives even airflow and easy access. Feeders and drinkers should sit within short reach so birds never travel far to eat or drink. Meanwhile, a small anteroom at the entrance creates space for a footbath and storage. This buffer also strengthens biosecurity by separating the flock from the outside world. For a related look at housing standards, the Poultry Extension guides offer practical layout checklists. A thoughtful layout turns chores into quick, repeatable steps.
2. Ventilation and Air Quality in the Poultry House
Ventilation is the invisible system that keeps a poultry house healthy. Fresh air removes heat, moisture, and harmful gases while delivering the oxygen birds need. Without it, ammonia and humidity build up and quietly damage growth. As a result, air quality ranks among the strongest influences on the feed conversion ratio. Good ventilation also lowers the risk of respiratory disease across the flock. Balancing airflow with warmth, especially for young chicks, is the real skill. The subsections below explain ventilation types and how to keep the air clean.
2.1 Natural Versus Mechanical Ventilation
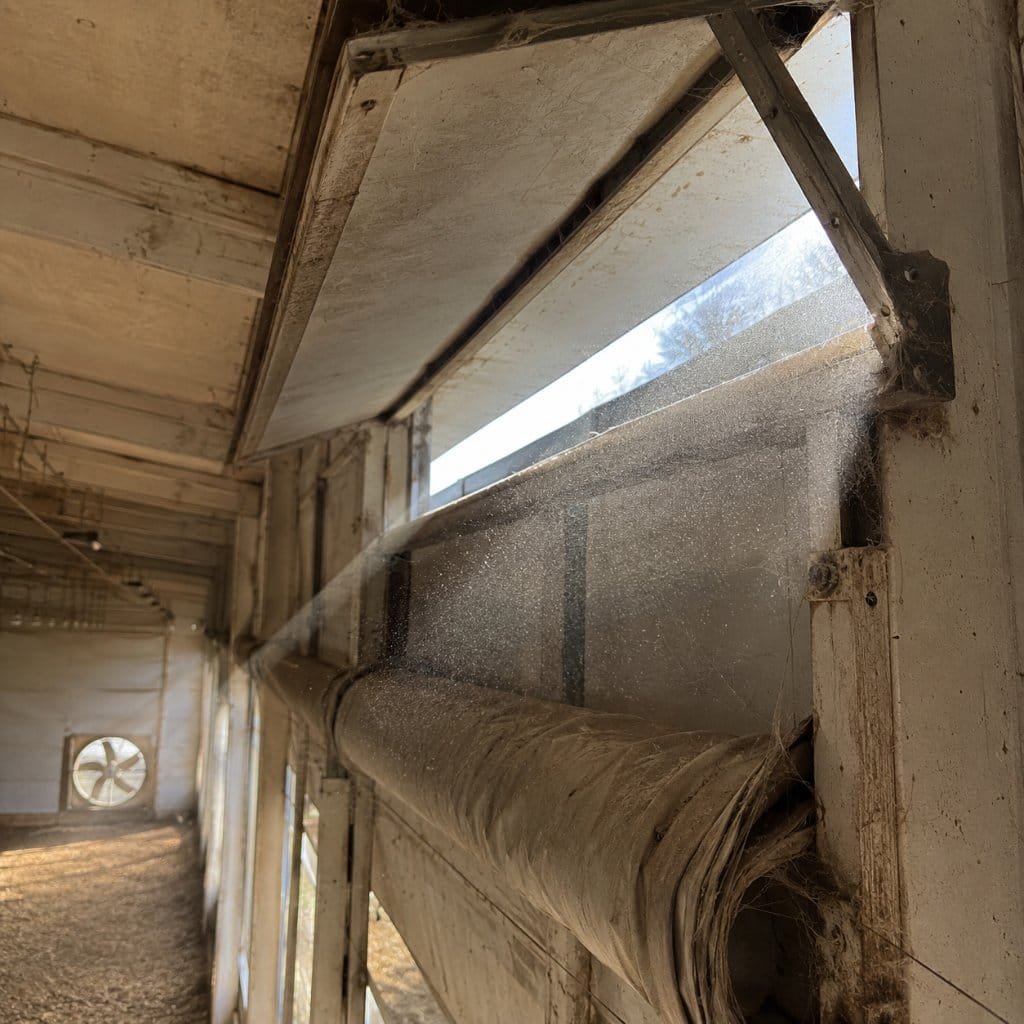
Natural ventilation relies on wind and open sides to move air through the house. It costs little and works well in mild climates with steady breezes. Curtains along the walls let the farmer open or close the house as weather shifts. However, natural systems depend on the weather and can struggle in still, hot conditions. Mechanical ventilation, by contrast, uses fans to guarantee consistent airflow regardless of wind. This control matters most in dense commercial flocks and extreme climates. For many small farms, a hybrid approach captures the benefits of both at a reasonable cost.
Choosing between the systems comes down to climate, flock size, and budget. A backyard unit in a breezy area may need nothing more than well-placed curtains. Meanwhile, a large barn in a hot region benefits greatly from tunnel ventilation and cooling pads. As the flock grows denser, mechanical airflow becomes less of a luxury and more of a necessity. Additionally, fans give precise control during the vulnerable brooding phase. Therefore, matching the ventilation method to the specific situation avoids both overspending and preventable losses. Start simple, then upgrade as the operation scales and the return justifies it.
2.2 Controlling Ammonia and Humidity
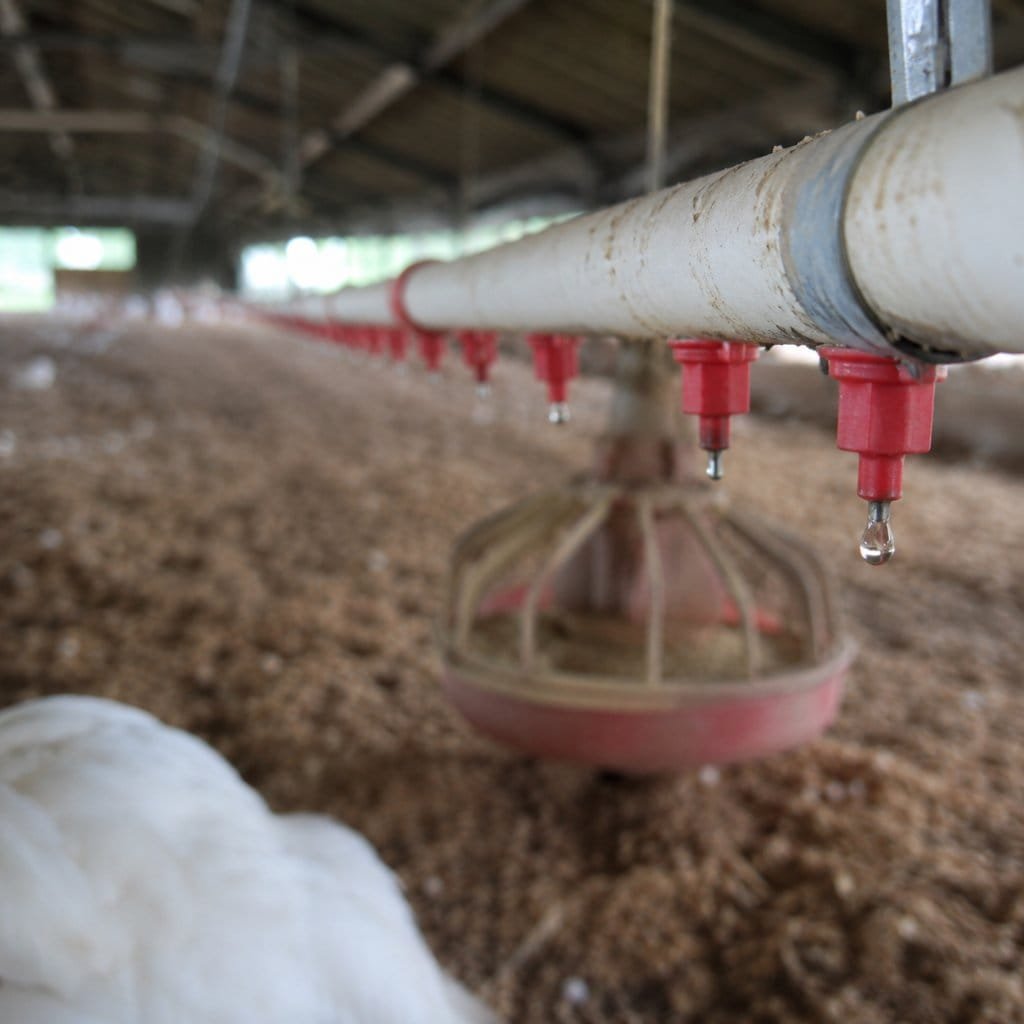
Ammonia and excess humidity are the quiet enemies of a productive flock. Ammonia rises from wet litter and damages the birds’ airways long before you smell a problem. Damp air, meanwhile, encourages mold and raises the risk of disease. As a result, keeping litter dry is the front line of air-quality control. Good ventilation carries moisture out, while leak-free drinkers stop it building up in the first place. For example, nipple drinkers spill far less water than open founts. Managing these two factors protects both welfare and the feed conversion ratio at once.
Practical habits keep gases and moisture under control day to day. Stirring and topping up litter prevents wet, caked patches from forming. Fixing dripping drinkers quickly stops small leaks from soaking the bedding. Additionally, adjusting ventilation as birds grow matches airflow to their rising output of heat and moisture. Because young chicks need warmth, the challenge is venting moisture without chilling them. Therefore, small, frequent adjustments beat large, occasional ones. Watching the litter and the birds’ behavior tells you more than any single instrument. Clean air, in short, is a daily practice rather than a one-time setup.
3. Temperature Control in the Poultry House
Temperature control sits at the heart of a productive poultry house. Birds eat and grow best within a comfortable range, and stray too far from it and performance drops. Young chicks are especially sensitive, since they cannot regulate their own body heat well. As a result, the brooding period demands the tightest temperature management of the whole cycle. Heat stress and cold stress both waste feed and raise mortality. Reading the birds’ behavior is often the best guide to whether they feel comfortable. The subsections below cover the brooding phase and the methods for holding a steady temperature.
3.1 The Critical Brooding Phase
The first week decides much of the flock’s final outcome. Day-old chicks arrive unable to keep themselves warm, so the house must supply that heat. A brooding area near thirty-three to thirty-five degrees Celsius suits most chicks at placement. Then, the temperature is lowered gradually each week as the birds feather out. Watching behavior confirms whether the setting is right in practice. Chicks huddled tightly under the heat source are cold, while those pushed to the edges are too hot. Evenly spread, active chicks signal comfort. Getting this phase right builds the foundation for strong growth later.
Preparation before the chicks arrive makes brooding far smoother. Pre-heating the house several hours ahead ensures the floor and litter are warm on placement. Cold litter chills chicks from below even when the air feels warm enough. Additionally, a brooder guard, or a ring around the heat source, keeps young chicks close to warmth, feed, and water. As the birds grow, this ring is expanded to give them more room. Meanwhile, steady access to feed and water in the warm zone encourages an early, healthy start. Careful brooding rewards the farmer with lower mortality and a more uniform flock.
3.2 Poultry House Heating and Cooling
Heating methods range from simple to sophisticated depending on scale and budget. Gas brooders, heat lamps, and even well-managed charcoal or biomass stoves all supply brooding warmth. Whatever the source, safe placement matters, since fire and fumes are real risks. Additionally, a reliable heater must hold a steady output through cold nights without constant tending. For small flocks, a couple of infrared lamps often suffice. Larger barns, by contrast, may use gas brooders that heat evenly across the floor. Matching the heat source to the flock size keeps chicks warm without wasting fuel.
Cooling becomes the priority as birds grow and the weather warms. Older, feathered birds produce a lot of heat and suffer quickly when the house gets too hot. Good airflow, shade, and roof insulation form the first line of defense against heat stress. In severe heat, evaporative cooling pads or foggers lower the temperature further. Meanwhile, plentiful cool water helps birds regulate their own body heat. Adjusting stocking density in hot seasons also eases the load on the cooling system. Balancing heating for chicks and cooling for grown birds is the year-round temperature challenge.
4. Feeders, Drinkers, and Poultry House Equipment
Equipment is where the poultry house meets the daily feeding routine. Feeders and drinkers deliver the two inputs that decide growth, so their design matters. Poorly chosen equipment wastes feed, spills water, and adds labor at every turn. Well-matched gear, by contrast, keeps feed clean, water flowing, and litter dry. The right number and placement of units ensures every bird reaches food and water easily. Additionally, some automation can cut labor sharply as the flock grows. The subsections below cover choosing the core equipment and deciding when to automate.
4.1 Choosing Feeders and Drinkers
The right feeders keep feed accessible while minimizing waste. Tube feeders suit many flocks, holding a reserve and reducing spillage when set at the correct height. As a rule, the feeder lip should sit level with the birds’ backs to discourage billing feed onto the floor. Enough feeder space ensures all birds eat without crowding, which keeps growth even. Meanwhile, drinkers must supply constant clean water without soaking the litter. Nipple drinkers excel here, delivering water on demand with almost no spillage. Choosing quality feeders and drinkers protects both the feed budget and air quality. To make the most of that feed budget, follow our broiler feed guide.
Quantity and placement matter as much as the equipment type. Too few units force birds to compete, leaving weaker ones underfed and uneven. Spreading feeders and drinkers evenly means no bird travels far for a meal. Additionally, raising the equipment as birds grow keeps it at the ideal height throughout the cycle. Regular cleaning prevents stale feed and slimy water lines that harbor disease. For a broader look at reliable feeding tools, our guide to automated feeding equipment shows how good design cuts labor. Thoughtful setup here pays back every single day of the flock.
4.2 Automation and Labor Savings
Automation turns hours of daily chores into quick checks. Automatic feeding lines and bell drinkers connected to a supply tank cut hand-carrying feed and water. As the flock grows, this labor saving becomes significant and frees time for monitoring. Additionally, consistent automated delivery reduces the human error that leads to empty feeders or dry lines. Even simple upgrades, like a header tank feeding gravity drinkers, ease the workload. However, automation adds cost and needs maintenance to stay reliable. Therefore, each farmer weighs the labor saved against the investment required at their scale.
The decision to automate follows the size and goals of the operation. A small backyard flock rarely justifies expensive automated lines. A commercial barn with thousands of birds, by contrast, almost demands them to stay manageable. Meanwhile, partial automation offers a sensible middle path for growing farms. For instance, automating water while feeding by hand balances cost and convenience. Because equipment must be reliable, buying quality gear beats replacing cheap parts often. Ultimately, automation is a tool to protect margins by lowering labor, not a goal in itself. Add it when the numbers clearly support the move.
5. Litter, Lighting, and Stocking Density
Three quieter factors shape comfort inside the house: litter, lighting, and density. Litter cushions the floor, absorbs moisture, and influences air quality throughout the cycle. Lighting guides feeding activity and rest, which affects growth and welfare. Stocking density, meanwhile, decides how much space each bird enjoys. Get these right, and the flock stays calm, healthy, and productive. Get them wrong, and stress, disease, and uneven growth follow. The subsections below explain litter management and how lighting and density work together.
5.1 Managing Litter and Bedding
Good litter is dry, absorbent, and deep enough to cushion the floor. Materials like wood shavings, chopped straw, or rice hulls all work when kept dry. A layer several centimeters deep absorbs droppings and moisture across the cycle. Damp, caked litter, by contrast, releases ammonia and breeds disease. Therefore, keeping bedding dry is central to both health and air quality. Stirring the litter and removing wet spots keeps it in good condition. Meanwhile, fixing leaking drinkers prevents the most common cause of soggy bedding. Well-managed litter quietly supports growth from the first day to the last.
Litter management continues between flocks as well as during them. Resting the house and replacing or treating litter breaks disease cycles before new chicks arrive. Complete cleanout and disinfection every so often resets the building to a safe baseline. Additionally, composting old litter turns a waste product into useful fertilizer. Because litter absorbs so much, it should never be an afterthought in the budget. Fresh, dry bedding at placement gives chicks a warm, clean start. In short, litter is a working part of the house, not just a floor covering, and it rewards steady attention.
5.2 Poultry House Lighting and Space per Bird
Lighting influences how much birds eat and how well they rest. Bright light in the early days helps chicks find feed and water quickly. Later, a controlled light program balances feeding activity with rest for steady growth. Long periods of darkness give birds time to rest and support healthy development. Additionally, dimmer light in crowded moments can calm the flock and reduce pecking. Because both excess and shortage of light cause problems, a sensible program matters. Simple, consistent lighting beats a complicated schedule that is hard to keep. Matching light to the birds’ stage supports both growth and welfare.
Stocking density sets how many birds share each square meter of floor. A common guideline allows around ten to twelve birds per square meter on deep litter. Crowding beyond that raises heat, humidity, and competition for feed and water. As a result, overstocking often erases its apparent savings through higher mortality and poor growth. Giving birds adequate room, by contrast, supports even weight and cleaner air. Density also interacts with ventilation, since more birds produce more heat and moisture. Therefore, planning density alongside airflow keeps the whole house in balance. Comfortable spacing is quiet insurance for a healthy flock.
6. Biosecurity Built Into the Poultry House
Biosecurity is the set of habits that keeps disease outside the poultry house. Because a single outbreak can wipe out a cycle, prevention is far cheaper than cure. The building itself can support biosecurity through thoughtful design and simple barriers. A footbath at the door, controlled entry, and pest exclusion do much of the work. Meanwhile, cleaning and resting the house between flocks breaks disease cycles. These measures cost little yet protect the entire investment. The subsections below cover entry hygiene and the barriers that block pests and pathogens.
6.1 Entry Controls and Hygiene
Most disease enters on shoes, hands, and shared equipment. A footbath with fresh disinfectant at the entrance stops much of it at the threshold. Limiting who enters the house, and requiring clean boots, cuts risk further. Additionally, dedicated tools that never leave the farm avoid importing infection from elsewhere. Washing hands before handling birds is a simple, powerful habit. Because visitors can carry pathogens from other flocks, keeping them out during a cycle is wise. These small routines, repeated without fail, form a strong first line of defense. Consistency matters more than any single expensive measure.
Cleaning between flocks resets the house to a safe starting point. After each cycle, the building is emptied, cleaned, and disinfected thoroughly. A rest period then lets any remaining pathogens die off before new chicks arrive. Additionally, sourcing chicks from a trusted hatchery reduces the chance of starting with infection. Keeping the surroundings tidy, with no spilled feed to attract pests, supports the effort. Because biosecurity is only as strong as its weakest habit, routine beats occasional deep cleans. Together, entry control and thorough cleaning protect both the flock and the farmer’s income. For the specific illnesses these routines prevent, see our guide to poultry diseases.
6.2 Pest and Disease Barriers
Rodents, wild birds, and insects all threaten a healthy flock. Rats eat feed and spread disease, while wild birds can introduce dangerous infections. Wire mesh over openings keeps wild birds out without blocking airflow. Meanwhile, sealing gaps and controlling rodents around the house cuts a major disease route. Storing feed in closed, pest-proof containers removes a key attraction. Additionally, clearing weeds and clutter near the walls denies pests shelter. Because these intruders arrive quietly, steady vigilance is essential. Building barriers into the house from the start is easier than fighting an infestation later.
A layered defense works better than any single barrier. Physical exclusion, cleanliness, and routine monitoring together keep pests and pathogens at bay. Checking the building regularly for new gaps or droppings catches problems early. Additionally, prompt action on the first sign of rodents prevents a small issue from growing. Because feed attracts pests, tidy storage and quick spill cleanup matter greatly. Meanwhile, good drainage denies insects the standing water they breed in. These barriers protect the results of every other investment in the house. Strong, well-maintained defenses are a quiet but decisive contributor to profit.
Poultry House FAQ
How big should the house be?
Size follows your target flock at about ten to twelve birds per square meter. For example, a thousand birds need roughly eighty-five to a hundred square meters. Planning a little extra room improves airflow and lowers stress.
Open-sided or closed housing?
Open-sided houses with curtains suit warm, breezy climates and cost less to build. Closed, fan-ventilated houses give tighter control in extreme weather and dense flocks. Consequently, the right choice depends on your climate and scale.
How do I keep the house cool in summer?
Start with shade, roof insulation, and strong airflow to remove heat. In severe heat, add evaporative cooling pads or foggers and plenty of cool water. Meanwhile, easing stocking density during hot months reduces the cooling load.
As an Amazon Associate, BeIN ADVISOR earns from qualifying purchases.
Build the House Right — The Complete System
Housing, ventilation and density are only the first chapter of the job. The Broiler Blueprint covers the whole system in 200 pages and 31 chapters: layout and site-selection checklists, tunnel versus natural ventilation, stocking-density tables, climate playbooks for hot, humid and cold regions, plus calculators for FCR, break-even and cycle profit, printable record templates and a troubleshooting guide.
Conclusion: The Poultry House as Your Profit Engine
A well-built poultry house does quiet work that shows up directly in your results. Site, ventilation, temperature, equipment, litter, and biosecurity all pull in the same direction. When they align, birds convert feed efficiently and mortality stays low. Moreover, good design saves money on every future flock rather than just the first. Treat the building as a production system, and it repays the effort many times over.
Start with the upgrades that matter most for your climate and scale, then improve steadily. A dry floor, clean air, and a warm brooding area deliver the biggest early gains. As a result, a modest, well-planned poultry house often outperforms a larger, careless one. Keep the flock comfortable, and efficiency and profit follow naturally. With attention to these six keys, your building becomes a dependable engine for every cycle ahead.